继续接上篇完善详情页
添加阅读次数
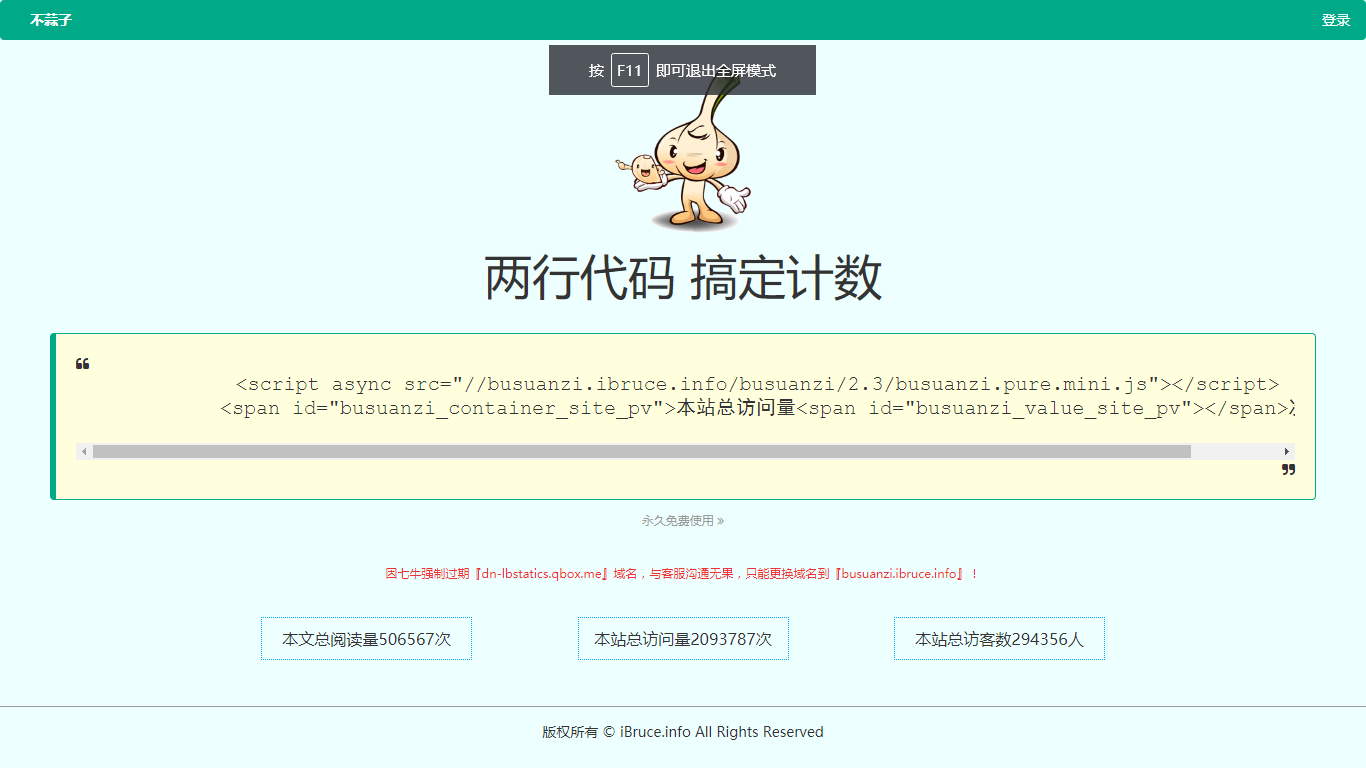
阅读次数采用不蒜子来实现
![]()
复制这两行代码,引入js的那段放到footer.ejs中,span的那段放在文章详情页中。
1
2
3
4
5
6
7
8
9
10
11
12
13
| <article class="wrapper style1 align-left">
<div class="inner">
<div class="header">
<h1 class="title"><%- post.title %></h1>
<div class="stuff">
<span><%- date(post.date, 'MMMM DD, YYYY') %></span>
<span>字数 <%- strip_html(post.content).length %></span>
<span id="busuanzi_container_site_pv">阅读 <span id="busuanzi_value_site_pv"></span></span>
</div>
</div>
<%- post.content %>
</div>
</article>
|
添加valine评论
前往valine.js.org官网,查看文档:
![]()
关于valine和leandcloud一些配置项请参考另一篇文章《hexo评论系统之valine快速使用》,这里就不赘述了。假设你已经有了API_ID和API_Key了,我们先把valine官方文档快速开始中的html片段复制到article.ejs(即文章详情页中),因为我们是在页面body中了,所以要把head和body删掉,修改后代码如下:
1
2
3
4
5
6
7
8
9
10
|
<script src='//unpkg.com/valine/dist/Valine.min.js'></script>
<div id="vcomments"></div>
<script>
new Valine({
el: '#vcomments',
appId: '<API_ID>',
appKey: '<API_Key>'
})
</script>
|
接下来可以把API_ID和API_Key填入就可以使用了,不过这是开发主题,所以最好要把这些变量在配置里面赋值。在主题下的config里面输入如下:
1
2
3
| valine:
API_ID: 这里填你的API_ID
API_Key: 这里填你的API_Key
|
接着修改valine部分代码如下:
1
2
3
4
5
6
7
8
9
10
|
<script src='//unpkg.com/valine/dist/Valine.min.js'></script>
<div id="vcomments"></div>
<script>
new Valine({
el: '#vcomments',
appId: '<%- theme.valine.API_ID %>',
appKey: '<%- theme.valine.API_Key %>'
})
</script>
|
网页上显示如下:
![]()
valine评论的样式乱了,使用f12工具发现main.css把input元素设为了块级元素(还有其他一些问题),所以在css中加入
1
2
3
4
5
6
7
| #vcomments input {
display: inline-block;
}
#vcomments button {
height: 2.25rem;
}
|
添加评论数
因为在valine的显示中是有评论数这个选项的。但文档里面并没有给我们提供这个接口,所以我们可以自行调用valine的函数来获取。代码如下:(看源码无所不能)
1
2
3
4
5
6
7
8
9
10
11
12
13
14
15
16
17
18
19
20
21
22
23
24
25
26
27
28
29
| <article class="wrapper style1 align-left">
<div class="inner">
<div class="header">
<h1 class="title"><%- post.title %></h1>
<div class="stuff">
<span><%- date(post.date, 'MMMM DD, YYYY') %></span>
<span>字数 <%- strip_html(post.content).length %></span>
<span>评论 <span id="valine-count"></span></span>
<span id="busuanzi_container_site_pv">阅读 <span id="busuanzi_value_site_pv"></span></span>
</div>
</div>
<%- post.content %>
<script src='//unpkg.com/valine/dist/Valine.min.js'></script>
<script src='//cdn.jsdelivr.net/npm/leancloud-storage/dist/av-min.js'></script>
<div id="vcomments"></div>
<script>
var valine = new Valine();
valine.init({
el: '#vcomments',
appId: '<%- theme.valine.API_ID %>',
appKey: '<%- theme.valine.API_Key %>'
})
valine.Q(location.pathname.replace(/index\.html?$/, '')).count().then(num => {
document.getElementById("valine-count").innerHTML = num;
})
</script>
</div>
</article>
|
效果如下:
![]()
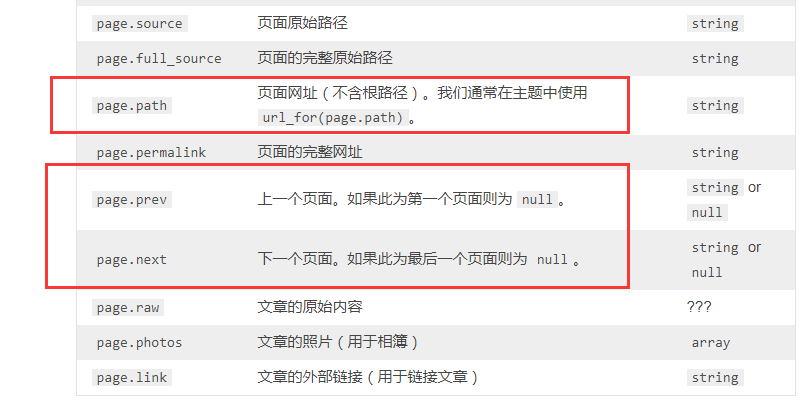
添加上一篇和下一篇
这里直接使用了自己当前主题的代码,这个功能实现起来只要知道hexo官方文档中page变量就行:
![]()
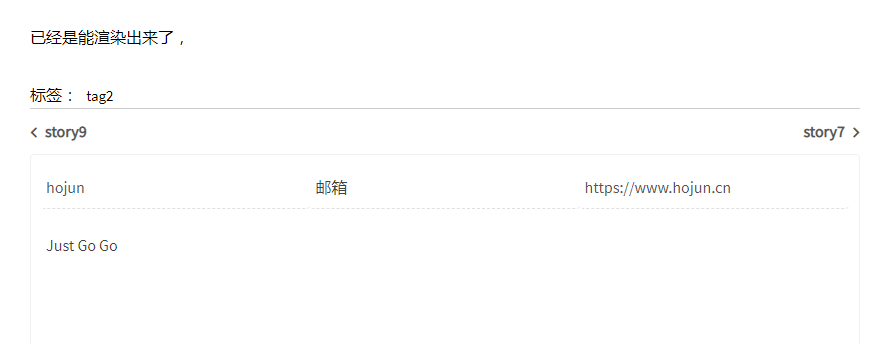
代码和效果如下:
1
2
3
4
5
6
7
8
9
10
11
12
| <div class="post-nav">
<% if (post.prev){ %>
<div class="post-nav-prev post-nav-item">
<a href="<%- url_for(post.prev.path) %>" ><%= post.prev.title %><i class="fa fa-chevron-left"></i></a>
</div>
<% } %>
<% if (post.next){ %>
<div class="post-nav-next post-nav-item">
<a href="<%- url_for(post.next.path) %>" ><%= post.next.title %><i class="fa fa-chevron-right"></i></a>
</div>
<% } %>
</div>
|
![]()
代码同步上传在github仓库和百度云上,关注回复story006获取。
未完待续 To be continued……
希望这篇文章能给你带来知识和乐趣,喜欢博主的文章可以加博主好友哦
有好的文章也可以向博主投稿哦


 QQ群和公众号